How to take better photos of yourself with your camera
In our fast-paced, ever-changing world, it’s important to be able to document your life and experiences through photographs. Photographs are a way to capture moments and memories that you can look back on for years to come.
With the advent of digital cameras and smartphones, taking pictures has become easier than ever before. However, that doesn’t mean that everyone is a born photographer. Here are some tips on how to take a better photo with your camera:
Section 1: Camera basics

Take better photos of yourself starts with the basics: a decent camera and an understanding of how to use it. Here are some tips on getting the most out of your camera, whether it’s a DSLR or a smartphone.
First, get to know your camera. Read the manual and learn about all the features and functions. Familiarize yourself with the buttons and controls so you can quickly change settings when you need to.
Second, practice using different settings and techniques. Take lots of photos, and experiment with different shutter speeds, apertures, and ISO settings. Try different compositions and framing. The more you practice, the better you’ll get at using your camera to take better photos of yourself.
Third, keep your equipment in good condition. Clean your lenses regularly and store your camera in a safe place when not in use.
Section 2: Composition
Rule of thirds

The rule of thirds is one of the most important composition rules in photography. It’s easy to remember and easy to apply, and it will make your photos look more pleasing to the eye.
Here’s how it works: imagine that your photo is divided into thirds, both horizontally and vertically. Place your subject at one of the intersections of those lines. This will create a more balanced and interesting photo than if your subject were in the center of the frame.
Keep in mind that the rule of thirds is just a guideline, not a hard-and-fast rule. Sometimes breaking the rules can lead to more interesting and creative photos. It will help you create well-composed, aesthetically pleasing images.
Leading Lines
Another thing to keep in mind when framing a photo is leading lines. Leading lines are any kind of lines that lead the eye into the photo, such as roads, fences, or even shadows. They can be used to significant effect to create depth and interest in an image.
It also can be used to add interest and depth to an image. They can be straight or curved, but they should always lead the eye toward the main subject of the photo.
Symmetry
Symmetry is another way to add interest to a photo. Symmetrical compositions are pleasing to the eye and can frequently be quite dramatic. When you have an image that is very symmetrical, it is important to make sure one side of the frame isn’t weighted more heavily than the other. A good idea would be to include something off-center in the frame, such as a person or a tree branch.
If you want to know more about composition, please read 13 Photo Composition Tips Everyone Should Know.
Section 3: Depth of Field

Let’s talk about what depth of field is. Simply put, it’s the distance between the closest and furthest objects in your photo that appear to be in focus.
You can control the depth of field by adjusting the aperture setting on your camera. A wider aperture (a lower f-stop number) will result in a shallow depth of field, while a narrower aperture (a higher f-stop number) will give you a deeper depth of field.
Photographers use depth of field to control the viewer’s attention. A shallow depth of field draws a viewer’s attention to the subject by blurring the background, while a deeper depth of field would give a more natural look to your photo by keeping your entire scene in focus.
Section 4: Lighting
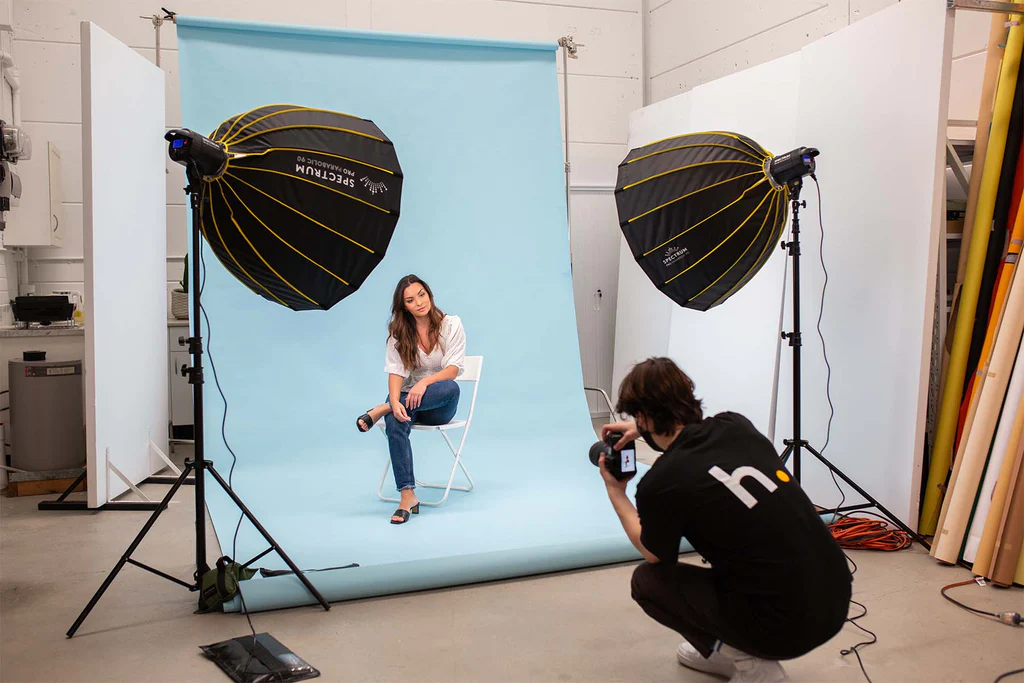
If you want to take your photography to the next level, it’s important to understand the basics of lighting. Good lighting can make or break a photo, so it’s important to know how to use it to your advantage. In this section, we’ll cover the basics of lighting and how you can use it to take better photos of yourself.
There are a variety of different types of light that you’ll encounter as a photographer. These include natural light, flash, artificial light, and mixed lighting.
Natural light refers to the sunlight that we experience every day. It’s the most common type of lighting that you’ll find in your home, as well as outdoors. It’s important to take note of the time of day when you’re working with natural light, as this will have a major impact on how your photos turn out. For example, early morning and late afternoon are two of the best times to shoot outside.
Flash and artificial light are commonly used as additional light sources in photography. It refers to a burst of artificial light that’s reflected onto a subject or scene. It’s often used when photographing in low-light situations. However, it can also be used to create a certain sense of mood. For example, you might want to use it to make the subject seem more powerful or mysterious.
Mixed natural and artificial lighting is a common element of photography. It refers to an image that combines two or more light sources. For example, you can use a flash to display a person’s face, while the background is illuminated by sunlight. This is useful for adding depth and dimension to an image.
Section 5: Backgrounds
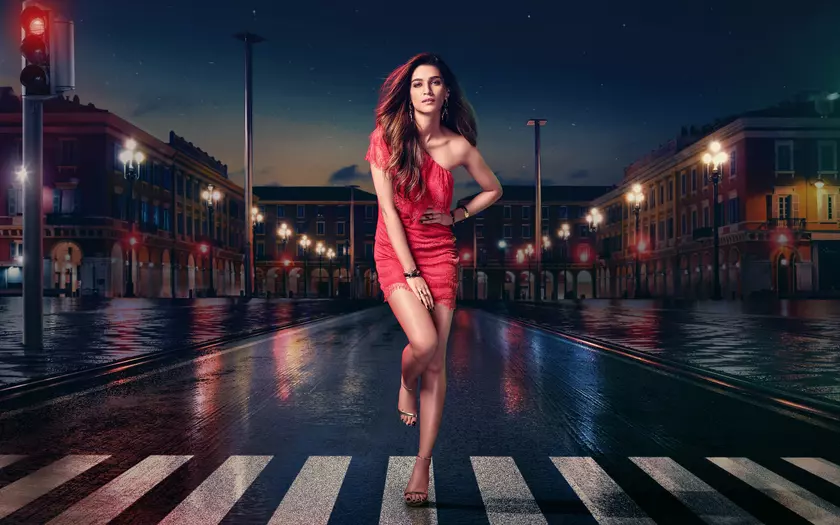
In photography, backgrounds can make or break a photo. A busy background can distract from the main subject, while a blank wall can make your subject look like they’re floating in space. Here are some tips for making sure your backgrounds enhance your photos:
1. Choose a location with an interesting background. A beautiful landscape or cityscape can make a great backdrop for your photos. Just be sure the background isn’t too busy or it will detract from the main subject.
2. Use a wide-angle lens to include more of the background in your photo. This is especially helpful if you’re shooting in a crowded place and want to avoid having people’s heads in the frame.
3. Move closer to your subject to blur the background. This is a great way to focus attention on your subject and create an artistic effect.
4. Get down on your subject’s level to take a “worm’s eye view.” This will make the background look far away and create a sense of depth in your photo.
Conclusion: How to take a better photo

Now that you know the basics of how to take better photos with your camera, it’s time to put that knowledge into practice. Start by taking some practice shots, experiment with different settings and angles, and soon you’ll be taking great photos like a pro!
Grab your camera and start to explore all these techniques now. I hope this article helps you to get some ideas about taking better photos. If you like it please share it with other audiences too, I’d much much appreciate it. If you have any questions, you can ask by leaving me a comment. Thank you for reading.


